Plyometric training is defined as “exercise involving repeated rapid stretching and contracting of muscles to increase muscle power.” Through the definition, you can see that plyometric training is most commonly used for increasing POWER! While it can be done for endurance (jump ropes or low box jumps), we will be talking about power development in this article. We will be focusing on lower body plyometric training, also known as jump training.
Power equals work done over a period of time. To improve power, you must either do more work or do the same amount of work in less amount of time.
[thrive_leads id=’9264′]
Stretch Shortening Cycle
Plyometric training involves the use of the Stretch Shortening Cycle (SSC). The SSC is a period of eccentric lengthening (lowering into your jump) followed by a concentric contraction (exploding up). It involves not just the muscle around the joint being trained, but it also involves the ligaments, tendons, and other connective tissue. The use of the SSC allows your connective tissue to act as a spring and propel you to higher or farther distances than you could achieve without the use it.
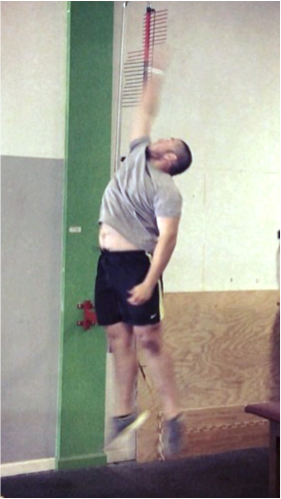
To test how your SSC works, try jumping in place. Do a few jumps with a fast lowering down and a fast/powerful jump up as high as possible (aka counter movement jump). Measure on the wall how high you got. Then do a few other jumps with a pause in the bottom of your decent before jumping. From here, jump straight up without re-dipping. If you have an efficient SSC, you should notice at least a 10-20% difference in your jump height. If you do not have a huge difference, you should be spending more time doing plyometric training!

Prerequisites for Plyometric Training
Super Training suggests that an athlete should have a 1-1.5x bodyweight back squat and about a 2x bodyweight deadlift before beginning plyometric training. While many believe this a good standard, I have to disagree with it. I think most athletes have the ability to start some form of plyometric training early in their training history.
It’s important to start teaching them proper technique. Regardless if we like it or not, the athletes will be jumping in their sports at an early age. It is better we teach them how to jump early so they can develop good habits. However, I think the Super Training standard is a good prerequisite for depth jumps that put a large eccentric force on the connective tissues.
Jump training can put 3-20x body weight load onto your connective tissue. If you start with high depth jumps you are loading your connective tissue with HIGH loads. If you are jumping up to a box, and landing softly you are going to be putting a much smaller force on the connective tissues.
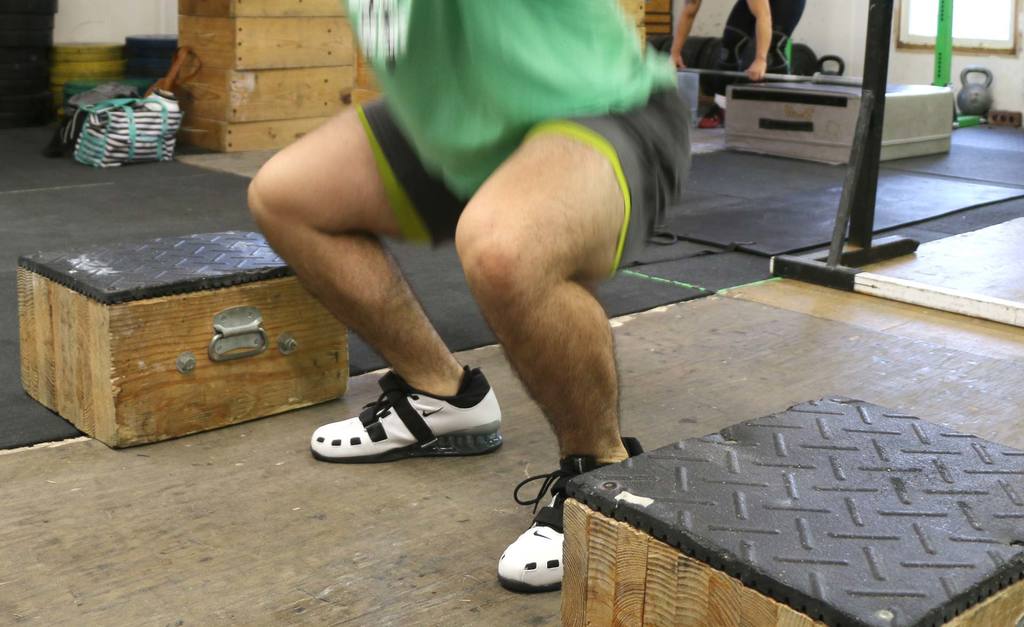
Just like any strength and conditioning movement, introduce this with technique work first. The focus should be on landing mechanics first. Land on the whole foot, knees tracking over the toes, and in an athletic position.
When the box jump is complete, step off the box. Do not jump off the box when you are teaching someone new to jump!
[thrive_leads id=’8207′]
Testing Plyometric Ability
We see so many people test their vertical jump by trying to jump to a max height box. This is not the best way to test your vertical jump. This is testing you hip, ankle, and knee flexibility as well as your max power output. Many people cut their extension short so that they can begin to pull their legs up so they don’t clip their legs and fall into the box. For those athletes who are limited by their flexibility, max box jumps may show them scoring much lower than other athletes who are more flexible and less powerful.
Instead, I recommend testing it against a wall. What you need to do is stand with your chest against a wall and reach as high as you possibly can reach with chalk on your middle finger to mark the wall. This is your start height. Once you have done this, get chalk on your hand do your normal jump while being adjacent to the wall. Don’t face the wall! It should be at your side. Lower down fast and explode up. Reach your hand to the side and get as tall as you can.
Now get a chair, box, or ladder to measure the distance between the two chalk marks. Give yourself one to two minutes of rest between attempts.
In part two of this article, we’ll take a look at how to program plyometric movements into your training and how to progress them based on your skill level.

Comments are closed.